We have made a solid effort to provide as much documentation and information about cpSiteBuilder, the way it was built, the way it works and its features. If, however, you find anything lacking from this document or you have any questions, do not hesitate to contact us at support@cpnet-works.com.
Introduction
What it is
cpSiteBuilder is a application which allows you to build your own website with our builder. With cpSiteBuilder, cpNETworks customers can log in allowing them to easily create and publish professional grade websites. Our intuitive builder UI allows users to drag&drop blocks onto a canvas to create pages and combine multiple pages into full sites.
In addition, cpNET-works customers/users can publish created sites and continue working on them at a later time, allowing users to use cpSiteBuilder as a lightweight Content Management System.
cpSiteBuilder comes bundled with several HTML blocks to demonstrate it's usage. You are free to use the provided blocks in whatever way you like. We will provide custom blocks services for any network subscribers/customers/user who has a need or idea, suggestions etc...
Block Approach
cpSiteBuilder takes a block oriented approach to building web pages and web sites. What this means is that cpSiteBuilder provides the you with a selection of pre-designed blocks, such as headers, content sections, forms, footers, etc. which are combined onto a canvas to create fully functional web page.
To have a look at blocks bundled with cpSiteBuilder, please have a look here: coming soon /#blocks.
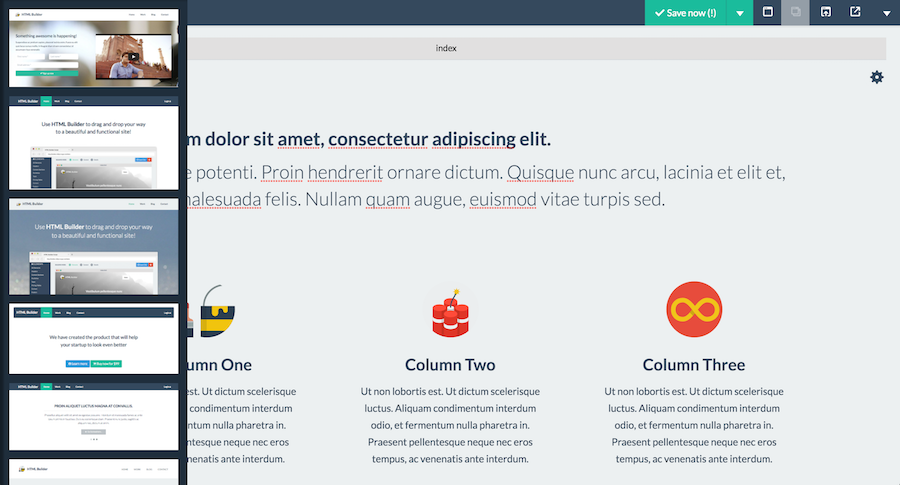
Drag & Drop
cpSiteBuilder uses an easy to use and intuitive drag and drop interface. Use the left sidebar to select your blocks and drag them onto the canvas. Once dropped onto the canvas, blocks can easily be re-ordered using the same drag and drop functionality.
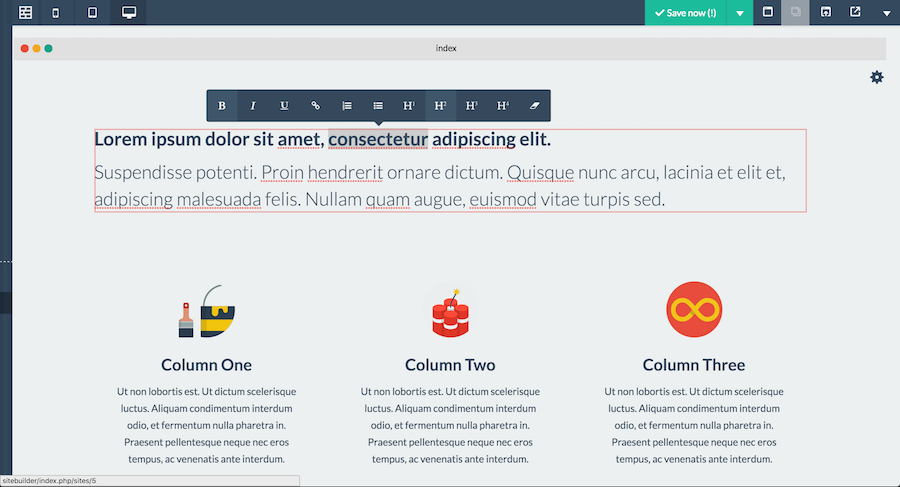
Editing text
cpSiteBuilder allows you to edit all written content within certain elements. To edit text, simply click on the text you'd like to edit to activate the inline content editor and edit away.
Editing images and using the image library
cpSiteBuilder allows you to edit images within blocks as well (please note that cpnet-works administrator has defined which images are allowed to be edited, so it could be that not all images are editable).
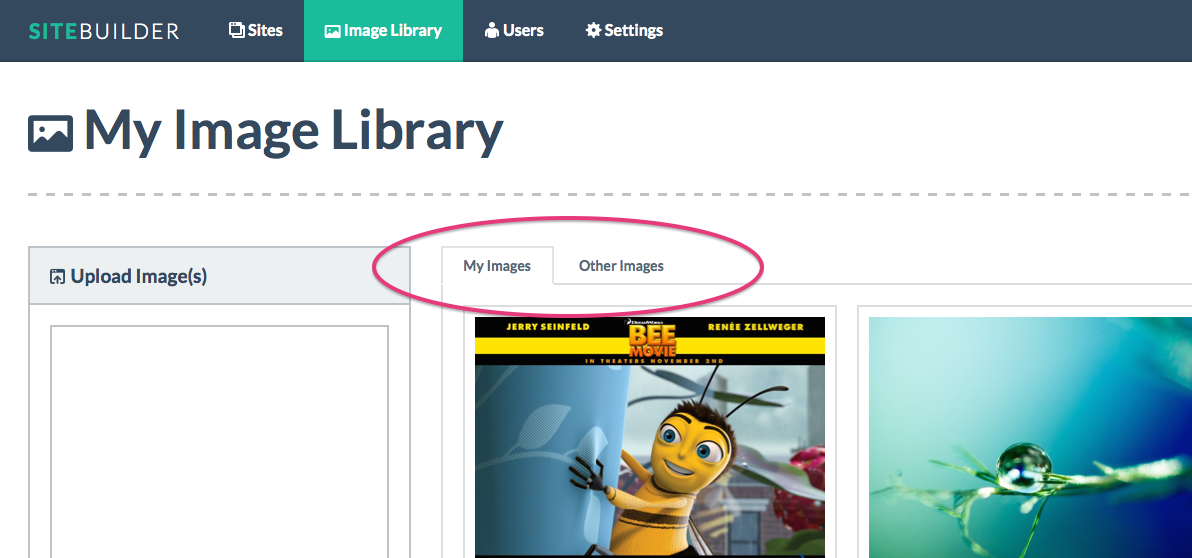
cpSiteBuilder makes a distinction between "your images" and "other images". User images are uploaded by users themselves and are stored in their image libraries. Other images have been uploaded by the application administrator and can not be managed/removed by regular application users. When accessing your image library from the top menu, you will see two tabs, one for your own images and one for the other images.
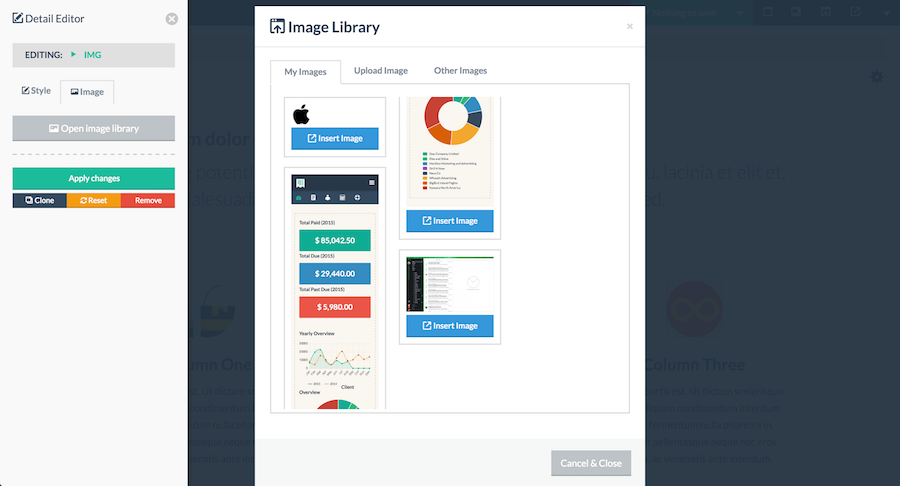
When changing an image, simply click on the image on the canvas to open the style editor. Once open, click the "Image" tab and then click the gray button labeled "Open image library". This will bring up your image library allowing you to select an image or upload one.
Editing Links
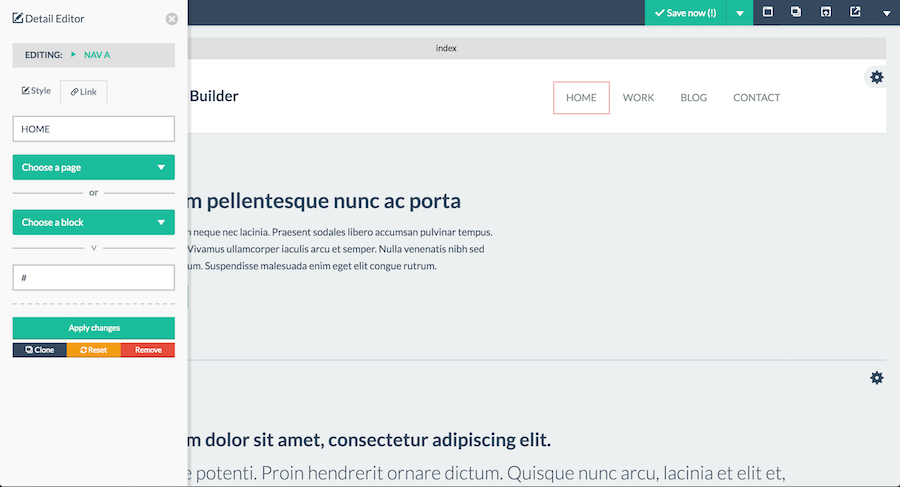
cpSiteBuilder allows you to edit links by either providing a URL, a block (to link to another section on the same page) or by choosing another page to link to. If you need more training or imformation on this all you need do is send us a message with your request from any page with a form.
Editing Styles
cpSiteBuilder allows you to edit certain styling properties for elements defined by the application's us. Please note that the administrator defines which properties for which elements are editable, so do not expect to able to change every property for every element. Custom elements are available to anyone simply send a request.
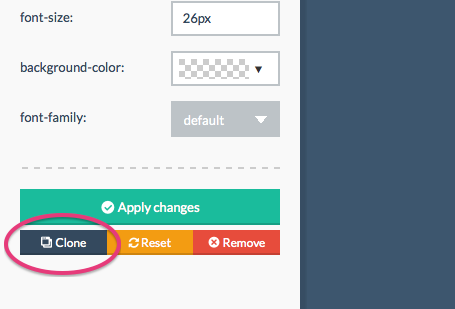
To edit an element on the canvas, first hover the mouse cursor over the element. If a red border appears around the element, it means the element is editable and you can click it. Once clicked, the style editor will open on the left side of the page. After making any changes, you'll need to click the green button labeled "Apply Changes" to see the changes take effect.
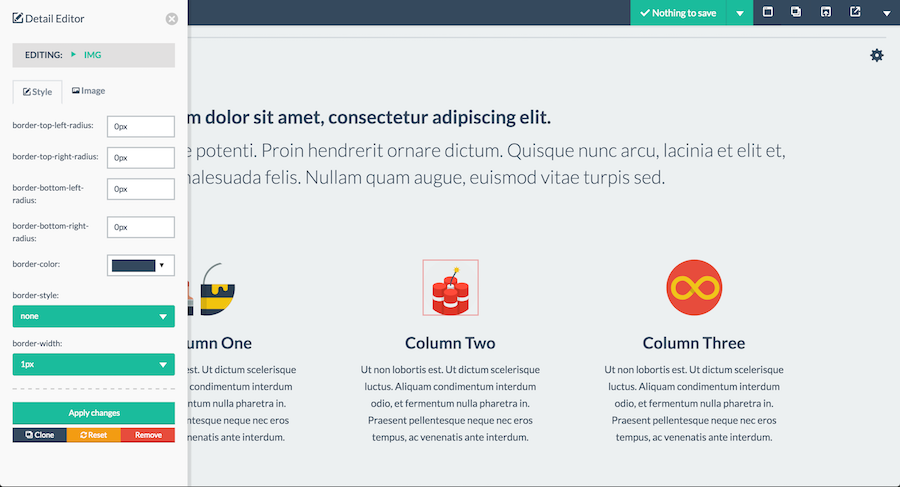
If you don't like the changes after seeing them in the canvas, you can click the orange button labeled "Reset" to restore the styling of the elements to it's original settings.
Editing Videos
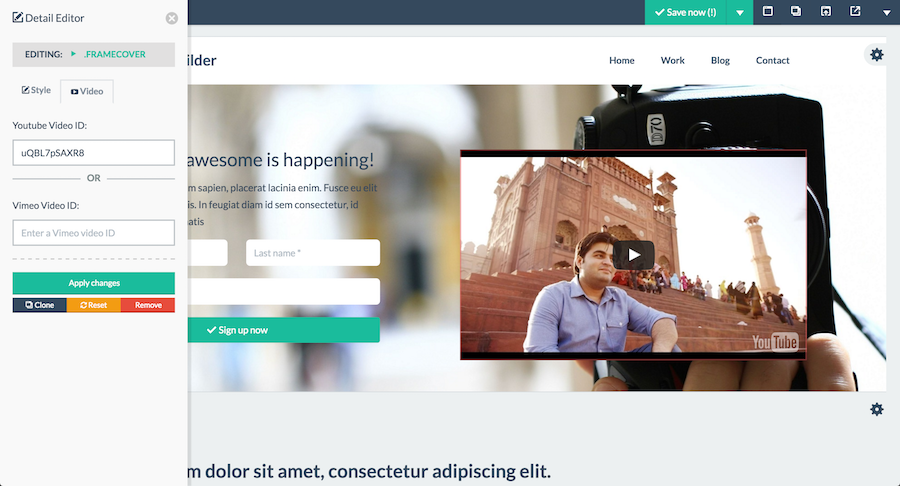
cpSiteBuilder allows users to edit Youtube and Vimeo videos as well. To edit a video, click the video you'd want to edit. This will open the left sidebar panel where you can enter a Youtube video ID or a Vimeo video ID. You can alter between these as you please, the application will detect which platform you're using and update the video accordingly.
Cloning Elements
cpSiteBuilder allows you to clone elements on the canvas. This comes in handy when working on a navigation for example, when you need an additional entry, you can clone the last item of the navigation.
Click the element you want to clone (if it's clonable, a red outline will appear when moving the mouse cursor over the element). Once clicked, the left sidebar will appear. You can now clone the element by clicking the dark blue button labeled "Clone".
Please note that a cloned element will always get inserted right after the original element!
Editing HTML
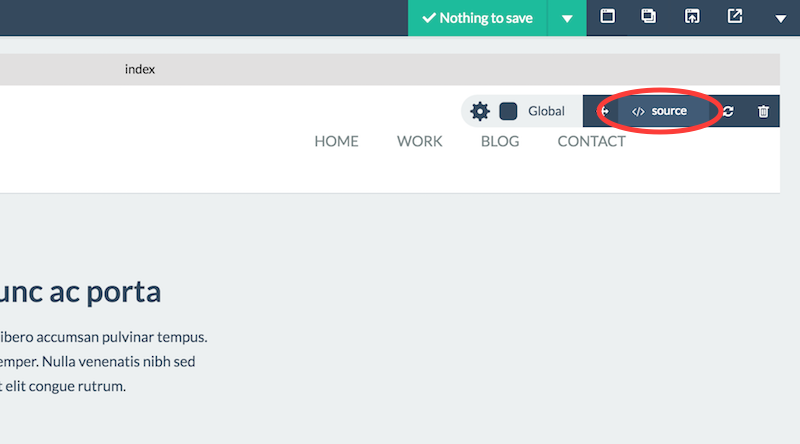
cpSiteBuilder allows users to edit the source HTML of each block on the canvas. To access the HTML editor, hover over the block action icon and wait for the block tool bar to slide in. Next, click the dark blue button labeled "source".

As of verion 1.4.0, the HTML editor comes with an HTML validator. When working on a blocks underlying HTML, the validator will automatically list validation issues below the editor (after a small time delay, which is configured in the /js/builder/config.js file).
Using Templates
cpSiteBuilder admin will on a as needed basis, create page templates which are accessible for all users. If there are any templates created, they will appear in the left navigation under the heading "Templates". To use a template, simply drag and drop a template onto the canvas. Please note that using a template will remove all other blocks you currently have on your canvas.
Page Settings
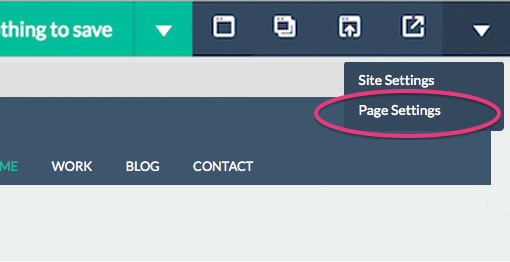
cpSiteBuilder allows users configure certain settings for each page within a given site. To bring up the page settings window, click the gray dropdown button labeled "Settings" towards the right edge of the screen:
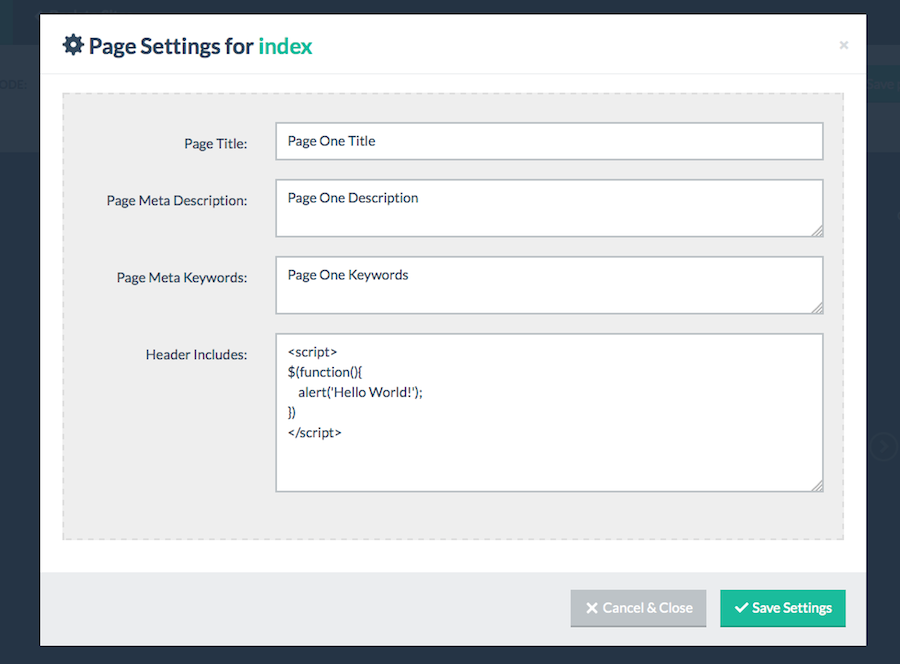
Within the page settings window, you can configure the page title, meta description, meta keywords and add additional code to be included in the HEAD section of the markup when either exporting or publishing your page or site.
Site Settings
Next to settings for individual pages, you can also configure certain settings for an entire site. To configure these settings, locate the gray button towards the right edge of your screen labeled "Site Settings" and click it to display a dropdown menu:
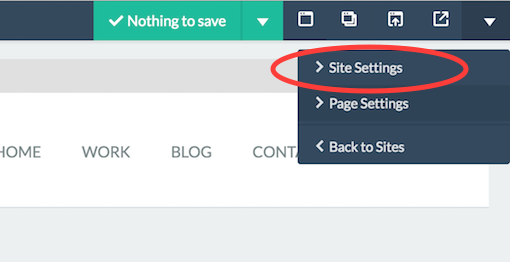
Click the "Site Settings" (for advanced users, otherwise our staff will set this up for you) link to bring up the site settings window. Besides the Site Name, you'll find a panel containing FTP settings. These settings are required if you want to publish your site using FTP to a live web server. The first item, labeled "Public URL" is not required to publish over FTP (this is only used to display the external link). All other fields are required to use FTP publishing.
Using the FTP browser
In most cases the FTP for our customers will already be set up with a template.

See Publishing your site below...
Exporting Your Site
This is disabled for now
cpSiteBuilder may allow users who are not hosted here to export their sites at any given time. When you're ready to export your site, simply click the blue button labeled "Export".
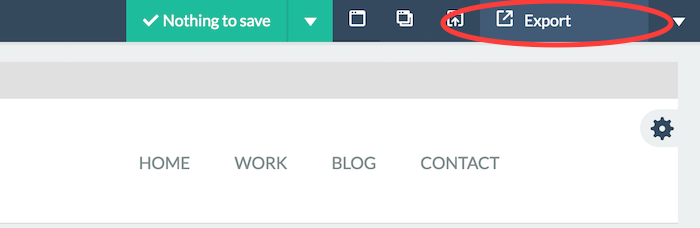
Clicking the export button will bring up a modal window. Here, before you export your site, you can choose an alternative Document Type (by default it's set to HTML5 which is the recommended setting).
Click the "Export Now" (disabled) button to download a ZIP archive of your entire site, including all CSS files, Javascript files and images.
Publishing Your Site
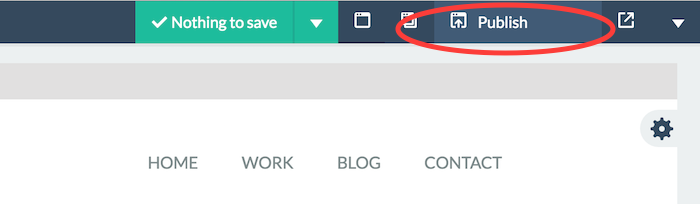
Instead of exporting(disabled) your site, you can simply publish it to our live web server (your hosted account) using FTP which is part of our setup for you.
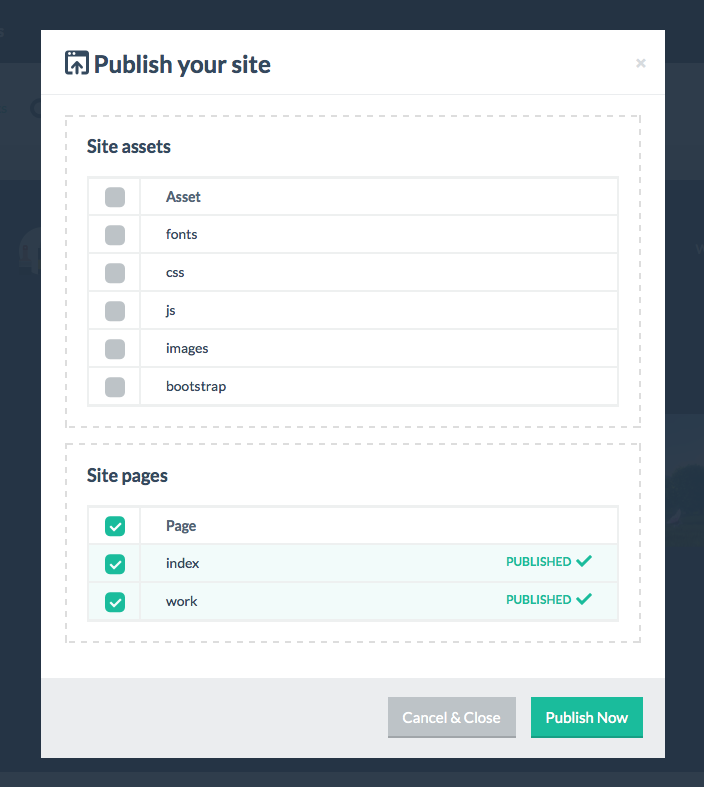
The "Publish" button will bring up the publish window. Here, you can choose which assets and/or pages to publish. When you're publishing your site for the first time, you will want to choose ALL assets and ALL pages. After having published your site for the first time, you want to only publish those assets and pages which have been changed, as this will speed up the publication process significantly.
Revisions
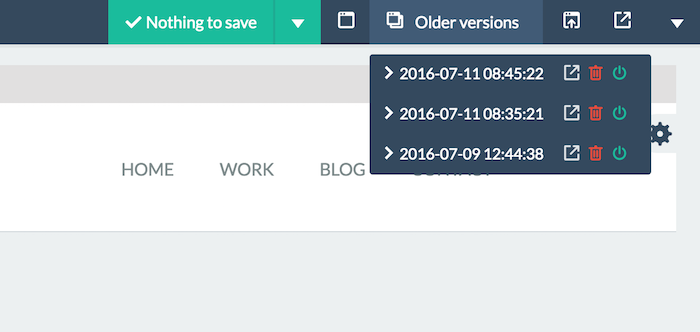
Each time a page is stored, a copy of the previous state of that page is maintained as well (this applies both to pages saved automatically as well as to pages saved manually). For each page, you can access the existing revisions through the "Older revisions" drop down. For each revision, there are three buttons available (right next the revision date):
- The first button allows you to the preview the revision by opening it into a new browser window.
- The second button allows you to restore the revision, by replacing the current page with that revision. Before the current page is replaced with the revision, an additoinal revision is created so you can always revert back.
- The third button allows you to remove a revision.
Custom CSS
cpSiteBuilder allows you to provide custom CSS to modify a single page or an entire site.
To apply custom CSS for an individual page, use the "Page CSS" field under "Page Settings".
To apply custom CSS to the entire site, use the "Global CSS" field under "Site Settings".
When supplying custom CSS, please do not include the style tags, as these are added by the application automatically.
Responsive Views
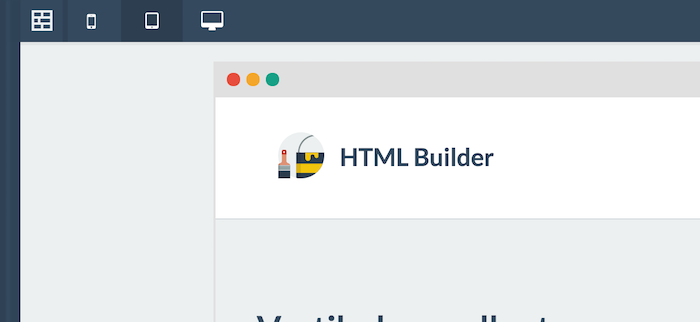
cpSiteBuilder allows users to switch between different view modes, this to ensure the resulting page will look good on mobiles, tablets and desktop screens. To toggle between modes, use the three buttons to the left of the main toolbar.
The screen sizes for the view modes can be configured in the js/modules/config.js module, by using the "responsiveModes" object.
Global Blocks
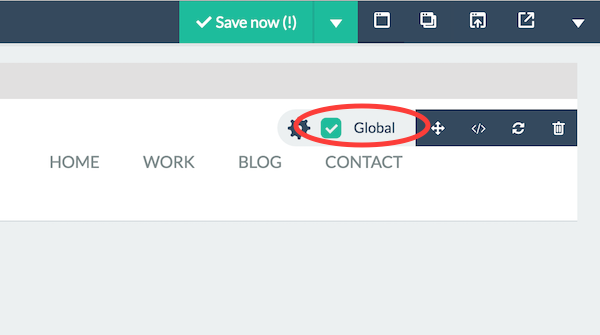
cpSiteBuilder allows users to configure so-called "global blocks". These are blocks that maintain the same appearance and settings across different pages. This feature comes in handy when configuring navigations and footers for example.
Each block on the canvas has a check box labeled "Global". When checked, changes made to this block will be applied to the same block on all pages in your site, assuming those other blocks are marked as "global" as well.
User Registrations
Although this may change, this sitebuilder service will be provided to cpNET-works network customers privately, 'by request'. By default, new user accounts will be created by admin and will be disabled and need to be enabled by an admin or by the new user with email activation.